Acura NSX Climate Control Removal Instructions
|
SRS (Airbag Precautions)
|
|
 |
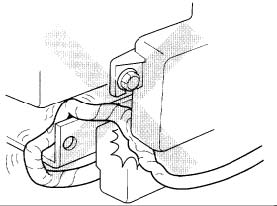 |
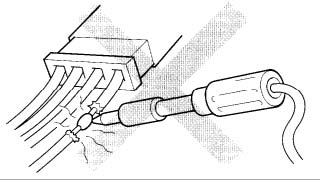
| Never attempt to modify, splice or repair SRS wiring. NOTE: SRS wiring can be identified by special yellow outer protective covering |
Be sure to install the harness wires so that they are not pinched or interfering with other parts. Make sure all SRS ground locations are clean and grounds are securely fastened for optimum metal-to-metal contact. Poor grounding can cause intermittent problems that are difficult to diagnose.
|
|
Climate Control Unit Removal and Installation SRS components are located in this area. Review the SRS component locations, precautions, and procedures above before performing repairs or service. |
|
|
|
 |
|
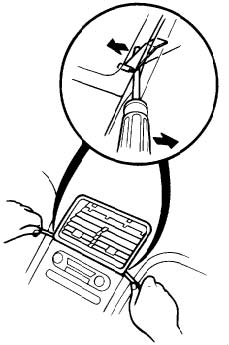
1. Remove the clock. 2. Remove the two screws behind the clock, then remove the center air vent.
|
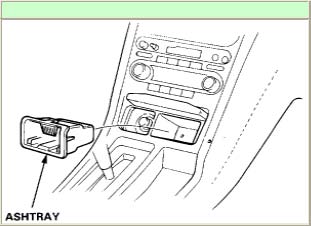
3.Take out the ashtray and remove the two screws from under the ashtray |
|
|
 |
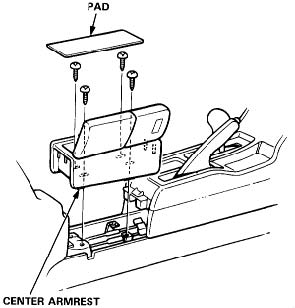
| 4. Remove the four screws, then remove the center armrest |
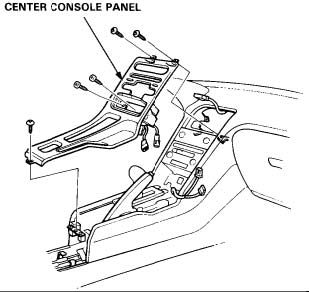
5. Remove the three screws and center console panel, then disconnect the 3P connector and 4P connector from the floor wire harness.
|
|
|
|
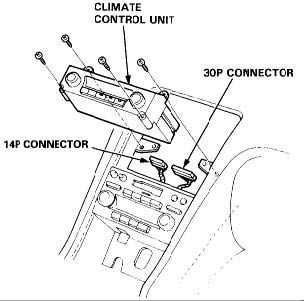
| 6. Remove the four screws, then disconnect the 14P and 30P connectors from the automatic climate control unit and remove it. 7. Install in the reverse order removal |
Download a pdf of these instructions here. |

